There’s a lot of parallels between Manga Studio and Photoshop. Opacity and flow are two of the most powerful brush controls that apply to all brushes. In Manga Studio, flow is called Brush Density.While not absolutely necessary, understanding opacity and flow makes it much easier for an artist at any level to get what they want with less brushes.
Opacity and flow control how much ink you apply with a stroke, ranging from a water-color like transparency to a bold, thick application. It allows you to narrow the parameters of your painting to get exactly what you want, rather than forcing you to have perfect eye-hand coordination. It transforms something that applies flat color to a more subtle applier, helping you find that perfect blend without forcing you to undo over and over when your stroke isn’t quite perfect. Both of them affect the paint in a similar way with a few subtle differences. Ctrl Paint has a good explanation of the differences between the two and the principles apply to Manga Studio as well.
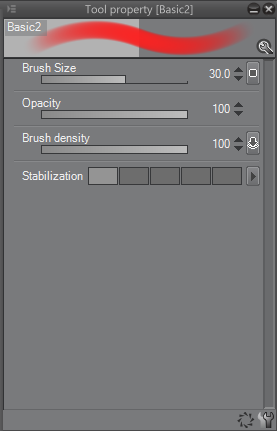
The tool property window usually has a slider for opacity and brush density. You can also change them into boxes by right clicking on either bar and selecting Show Indicator for a more button-like approach. I personally prefer using keyboard shortcuts because they’re detached from my drawing hand, but if you prefer to use the GUI, the option is available.
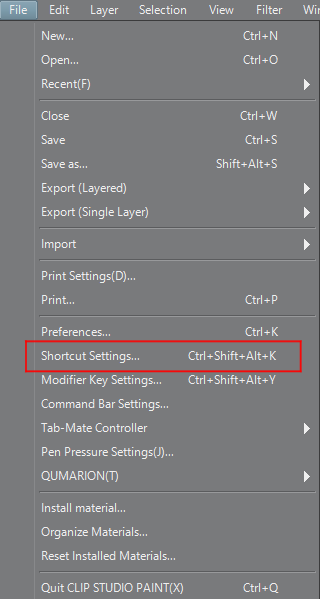
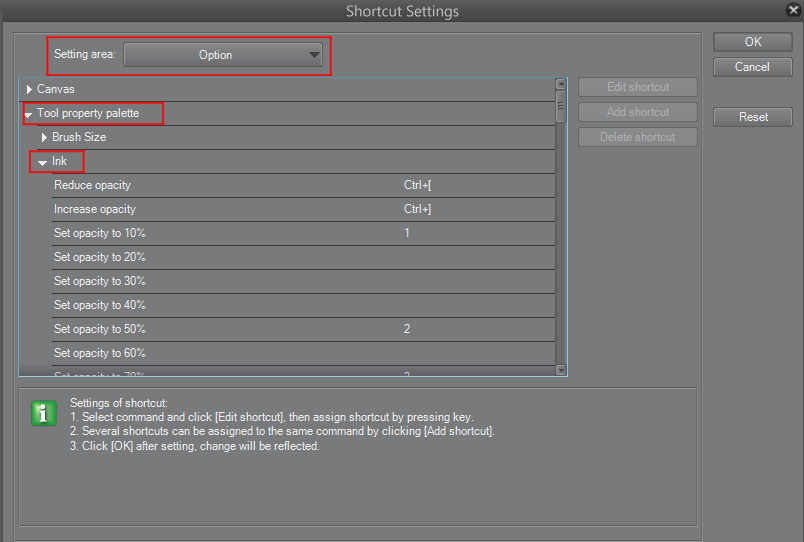
You can bind opacity by navigating to File > Shortcut Settings… > Setting Area: Option> Tool Property Palette > Ink.
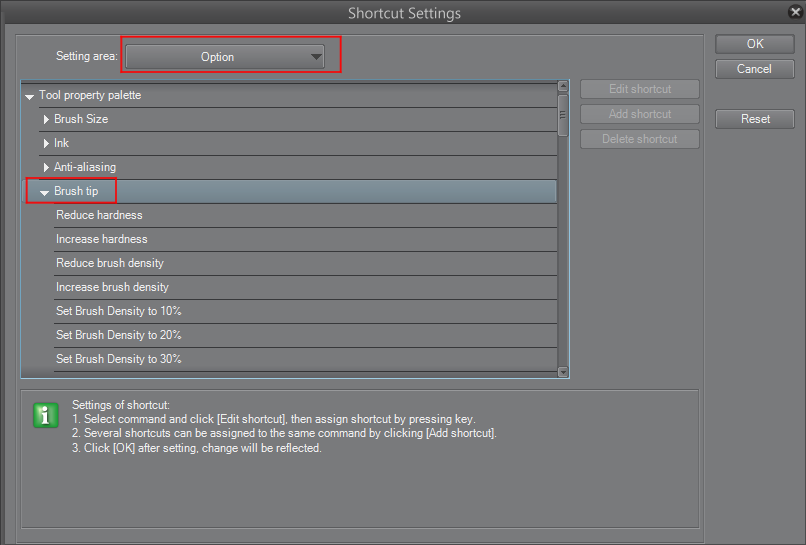
For Brush Density, File > Shortcut Settings… > Setting Area: Option> Tool Property Palette > Brush Tip.